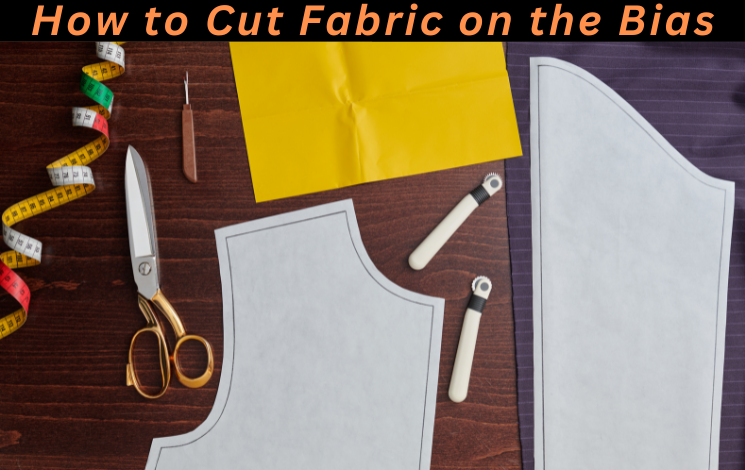
How to Cut Fabric on The Bias Step By Step Guide
Fabric is an essential component of many craft and fashion creations, and knowing how to cut it is one of the most important skills for any maker.
From quilting and dressmaking to home decor projects, cutting fabric on the bias is a technique that many sewers and crafters are eager to learn. We’ll look at how to cut fabric on the bias and why it’s an important skill for anyone who wants to get good at sewing.
How to Cut Fabric on The Bias cut example
The bias cut example begins with a pattern, carefully chosen to flatter the body. The pattern is then traced with the tailor’s chalk onto the fabric, which is cut on the bias to create a gentle drape.
Finally, the cut pieces of fabric are pieced together to create the garment.
Bias Cut
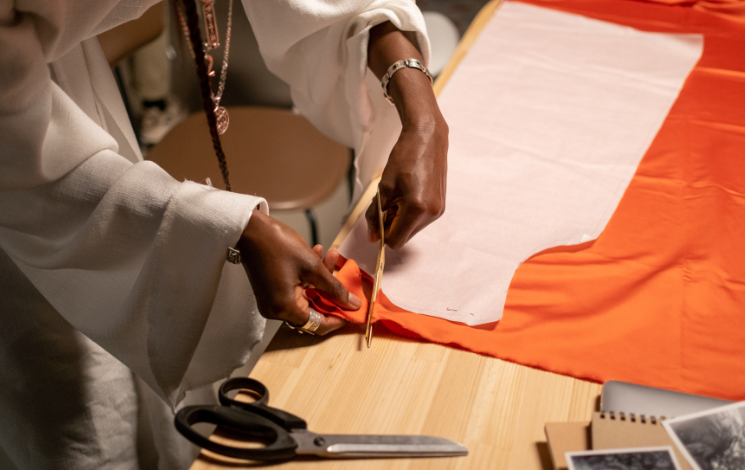
Transitioning from the previous section, one example of a design technique is bias cut. Bias cut is a type of garment pattern cutting technique that is done by cutting the pattern of a garment diagonally on the bias, which is the 45-degree angle of the fabric.
This technique is used to create a garment that has a softer drape, rather than a stiffer look when the fabric is cut on the grain. This is because the bias cut follows the natural stretch of the fabric and allows the garment to better hug a body shape.
When working with bias-cut fabric, it is important to take into account the fabric’s stretchability and drape in order to obtain the perfect fit. Depending on the type of fabric being used, the pattern used will also be adjusted to account for the fabric’s properties.
For example, a pattern that is used for a bias-cut silk fabric may need to be adjusted to account for the fabric’s delicate properties, whereas a pattern used for a bias-cut wool fabric may need to be adjusted to account for the fabric’s sturdiness.
The bias cut technique is often used in eveningwear, lingerie, and swimwear due to the design’s ability to create a figure-hugging silhouette while still allowing for movement.
Bias-cut fabric can also provide a more modern look, as the fabric creates a softer drape and can be manipulated to create interesting silhouettes. Overall, bias cut is an extremely popular technique for creating garments that have a tailored, flattering fit.
Pattern
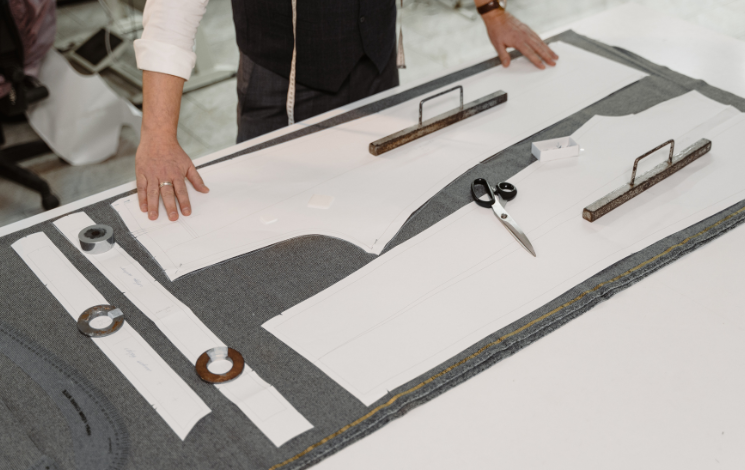
Slipping into the world of fashion, the bias cut is a pattern technique used to create a more flattering, streamlined silhouette. The process of cutting fabric on the bias produces an effect that drapes more fluidly over the body and creates a subtle sheen in the fabric.
Pattern makers must consider the weight, stretch, and drape of the fabric when cutting the fabric on the bias. The pattern maker begins by laying the fabric on the cutting table, crosswise and diagonally to the grain of the fabric.
Once the fabric is pinned to the table, the pattern maker utilizes a French curve and ruler to measure the desired length, width, and depth of the pattern. The pattern maker continues to draw the desired pieces onto the fabric, paying attention to the direction of the fabric grain, until the pattern is complete.
The bias cut technique can be used to create many timeless silhouettes including evening gowns, skirts, and blouses. Because the fabric is cut on an angle, the material can be manipulated to better follow the curves of the body. The result is a unique, elegant look that is both figure-flattering and timeless.
Fabric

Carefully selecting the right fabric is essential when creating a garment using the bias cut technique. Fabrics that are most suitable for this method include soft and lightweight materials such as silk, crepe, chiffon, and georgette.
Cotton and wool are not recommended due to their stiffness, which makes them difficult to drape. When choosing the fabric for a bias-cut garment, the most important thing to consider is the stretch and recovery properties.
A fabric with good stretch and recovery will not sag or become deformed after the garment is made. The fabric should also be lightweight, with a drapey fall, and should not be stiff, bulky, or overly heavy. When selecting a fabric, it is important to pay attention to the weave and fiber content.
A tighter weave is better for bias-cut garments, as it will lay more smoothly and hold its shape. Natural fibers such as silk, linen, and rayon are generally the best choice, as they are more malleable and easier to manipulate. Synthetic fibers are not recommended, as they are less pliable and can be difficult to work with.
Identifying the Bias
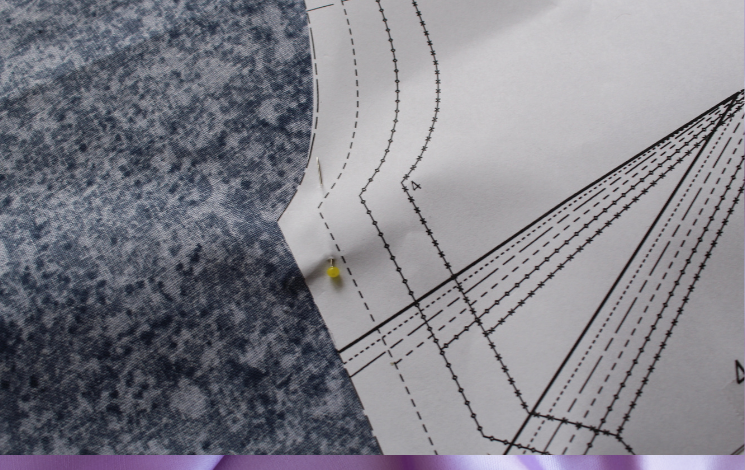
Focused on the task at hand, now that the bias cut example has been presented, it’s time to learn how to identify the bias of the fabric. Identifying the bias allows for more precise cutting of the bias strips, which is necessary for the desired outcome of a project.
To identify the bias, it helps to understand the structure of the weave of the fabric. The weave is the measure of the threads running in two different directions, one horizontal and one vertical.
The bias runs in a diagonal direction, and it is this diagonal direction that is used to cut the bias strips. The easiest way to find the bias is to look for the stretch in the fabric.
When pulling the fabric gently, it will stretch in one direction more than the other. This is the direction of the bias. Additionally, folding the fabric in half diagonally can help identify the bias.
The fold should match up evenly on both sides, and the edges should be on the bias. If the edges are not on the bias, the fabric will not be cut at a true diagonal.
Once the bias is identified, it can be marked with a fabric pen or pencil, which allows for more precise cutting. With the bias identified, it’s time to prepare the fabric for cutting the bias strips.
Preparing the Fabric

Having identified the bias of the fabric, it is time to prepare the fabric for cutting the strips. Depending on the fabric, there may be some pre-preparation required.
For example, if the fabric is wrinkled or has a lot of creases, it should be ironed to create a smooth surface. If the fabric is particularly delicate, it is important to use a low-heat setting and a pressing cloth to prevent scorching or damage.
Once the fabric is prepped and ready to go, it is time to cut the strips. For this, an appropriate cutting surface is necessary. A cutting table or large counter is ideal, as it gives plenty of room to spread the fabric and ensure a clean, straight cut.
If you are using a rotary cutter, a self-healing cutting mat is a great addition to any workspace. Before actually cutting the fabric, it is important to measure the strips and make sure they are the correct size.
This can be done either by eye or with a measuring tape. Once the measurements are set, the fabric can be cut. With a rotary cutter, it is possible to cut multiple strips at once, which can save time. If scissors are being used, the strips should be cut one at a time to ensure the edges are even.
Cutting the Strips
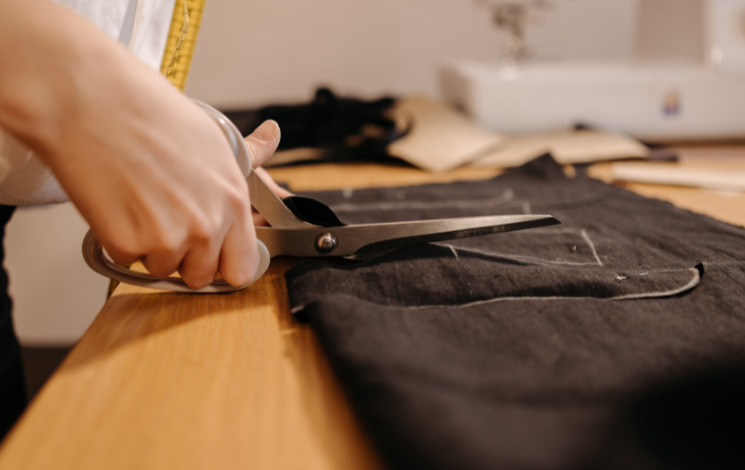
Once the fabric is prepped and ready for cutting, it’s time to get to the fun part of this bias-cutting project. With the help of a ruler and rotary cutter, the bias strips can be cut with precision and ease.
Begin by measuring the desired width of the bias strips. It is important to ensure that the strips are neither too wide nor too narrow to properly create the desired shape or garment. Once the width has been determined, it’s time to begin cutting.
To do this, line up the ruler along the bias grain and, using the rotary cutter, cut the fabric along the ruler in a continuous motion. Be sure to make the cuts smooth and even to ensure the strips lay flat.
As the strips are cut, they should be placed in a safe spot so that they can be used later. After each strip is cut, it’s a good idea to double-check the measurements and make any necessary adjustments.
Once all the strips are cut, the bias tape can be used to sew the desired shape or garment. With a few simple steps, bias strips can be created quickly and easily, ready to be used in a variety of projects.
bias cut vs straight cut
The difference between bias cut and straight cut is evident in the way the fabric is cut. Bias cut involves cutting the fabric on the diagonal, at an angle of 45 degrees, resulting in an elegant draping of the fabric.
This draping is one of the distinct advantages of the bias cut, as it allows for a more flattering fit. The durability of the fabric is also increased due to the increased flexibility of the fabric on the bias.
Bias Cut
Advantages of Bias Cut
Drapability of Bias Cut
Having learned how to fold the fabric to cut bias strips, it’s now time to compare the difference between bias cut and straight cut.
cut on the biased dress
The delicate process of creating a cut on the bias dress begins with preparing the fabric for bias cutting. Carefully measuring and marking the fabric ensures that the bias-cut pieces are correctly sized and evenly distributed.
After preparation, the fabric is ready to be cut on the bias, using a sharp pair of scissors to create gentle curves and a smooth cut.
Finally, the bias-cut pieces are pieced together using delicate stitches, creating a timeless garment that fits comfortably against the body and moves with grace.
Preparing the fabric for bias cutting
Cutting the fabric on the bias
Sewing the fabric on the bias
bias cut shirt
Creating a bias-cut shirt requires careful consideration of the fabric, the pattern, and the cutting. The first step to creating a beautiful bias-cut shirt is to select the right fabric;
choose a lightweight and drapey fabric with plenty of give and stretch for the best results. Once the fabric is chosen, a pattern must be drafted from the measurements of the individual, adjusted to fit the bias of the fabric.
Finally, the pattern pieces are cut from the fabric, using sharp scissors and a keen eye for detail.
Bias Cut Shirt Basics
Creating a Pattern
Cutting on the Bias
What does it mean to cut fabric on the bias, and why does it help with some sewing projects?
To cut fabric on the bias, you cut at a 45-degree angle to the straight grain of the cloth. This gives it more stretch and drape, making it perfect for making clothes that flow, like skirts or dresses with a bias cut.
What are some important things to remember when cutting fabric on the bias so that the fabric doesn’t stretch or get messed up?
Cut the cloth cleanly without tugging or pulling with a sharp rotary cutter or fabric scissors. Before cutting, pin the fabric carefully to keep it from moving.
What kinds of fabrics work best for projects or clothes that are cut on the bias?
Lightweight, flowing fabrics like silk, rayon, or chiffon work well for bias-cut designs because they drape well and have the right amount of stretch.
How does cutting a piece of fabric on the bias change how it hangs and moves on the body?
Clothes that are cut on the bias have a graceful, figure-skimming drape that shows off the body’s natural curves and makes for a flattering look.
Are there certain ways to sew lines and hems on bias-cut fabric that work well?
It can be hard to sew bias-cut lines because the fabric stretches. To keep the shape and flow of the clothing, use stay-stitching or interfacing to reinforce seams before sewing, and think about using narrow hems.
Conclusion
Cutting fabric on the bias is an easy and effective way to liven up any garment. With the simple technique of folding fabric and cutting strips, you can create beautiful bias cut garments.
Bias cuts are a great alternative to the traditional straight cut, giving garments an elegant twist. Whether you’re tackling a dress, shirt, or skirt, bias cut fabric is the perfect way to add a unique touch.
With a few easy steps, you can transform any dull fabric into something special and add an extra level of style to your wardrobe.

